Are you using NextGEN Gallery to create beautiful photo galleries? NextGEN Gallery Sell Photo plugin will help you add e-commerce functionality to it. You can easily create buy buttons to sell digital photos or photo prints online from your website.
NextGEN Gallery Sell Photo Plugin Installation
- Login to your WordPress admin dashboard
- Go to Plugins->Add New
- Enter NextGEN Gallery Sell Photo naa986 in the search box
- Once you find the plugin hit the install button
NextGEN Gallery Sell Photo Plugin Settings
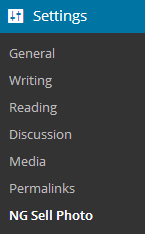
Once you have installed the plugin you will be able to access the settings menu by navigating to “Settings->NG Sell Photo”.

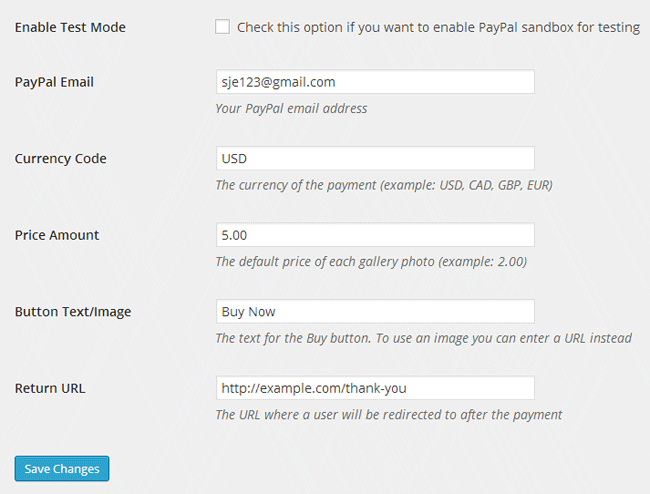
In the settings area you will need to configure some options related to your PayPal merchant account and e-commerce photo gallery.

- PayPal Email: The email where you will accept the payment
- Currency Code: The currency of the payment
- Price Amount: The default price of each gallery photo
- Button Text/Image: The text or image for the Buy button
- Return URL: The URL where a customers will be redirected to after a payment
NextGEN Gallery Sell Photo Usage
Create a new post/page and enter your NextGEN Gallery shortcode like the following:
[nggallery id="1" template="ngsellphoto"]
Here, id is the Unique ID of your gallery.
Publish/update the page and you should see a Buy button for each of the gallery images

If a user clicks the buy button it will take them to the PayPal payment page where they can pay for the photo/image.